Custom Quote Request
Please fill out the form below and a ePlast representative will contact you regarding your request as soon as possible.
We look forward to the opportunity to assist you..
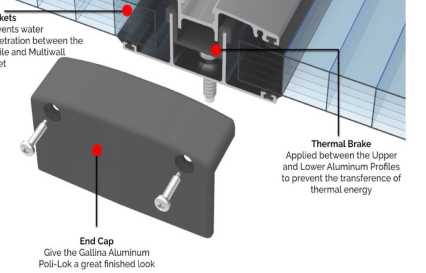
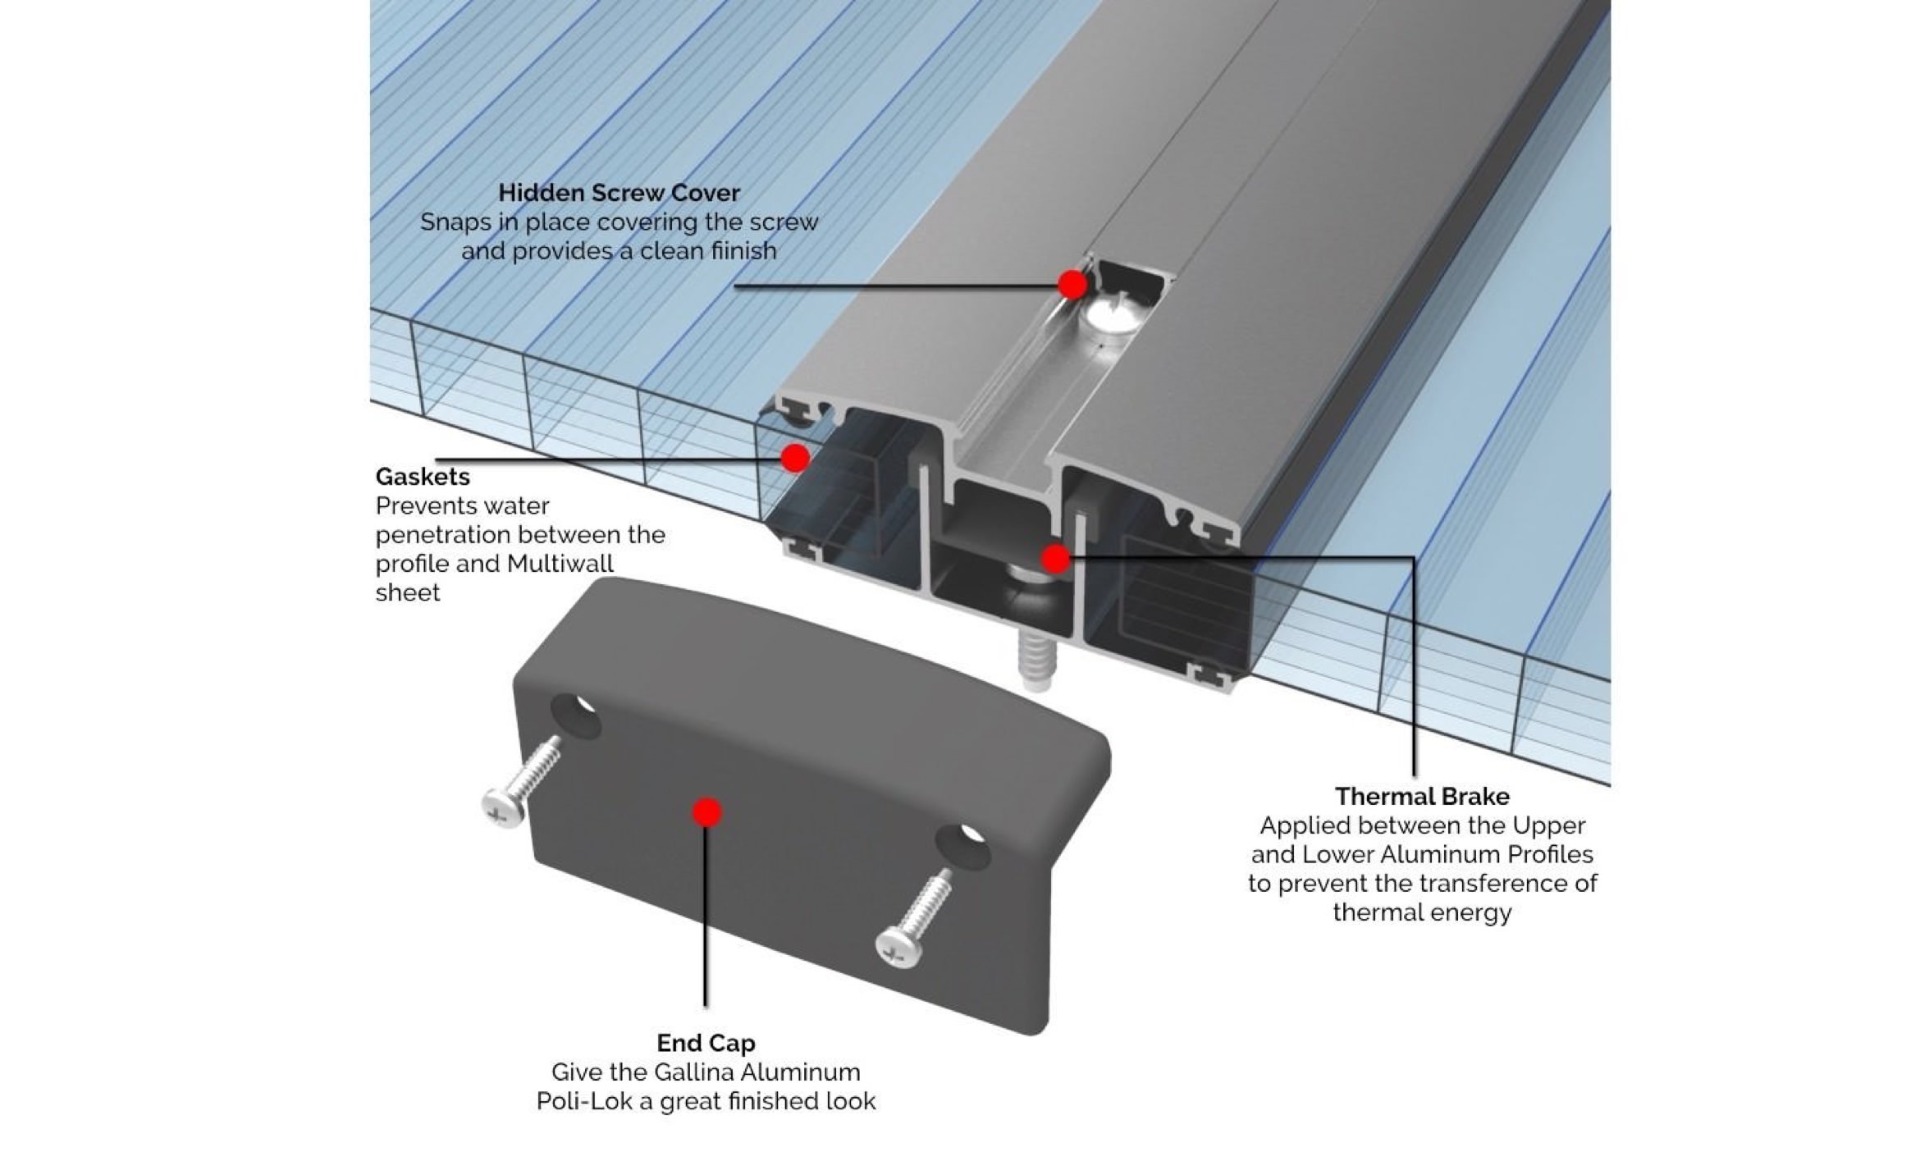
The H base and cape aluminum profile is an accessory that let you easily join 2 polycarbonate sheets on the length side. This accessory is waterproof and prevents any water leaks through the junction. This specific profile can be used on twin and multiwall polycarbonate sheets from 4mm to 35mm.
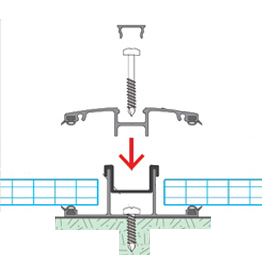
There are different H profile aluminum profile on the market with different components and different finished style. The one we recommend and sell on our store is one of the best that provides both solid structure and beautiful look. It is composed by the following elements:
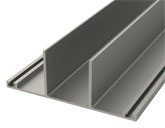 |
Base Profile |
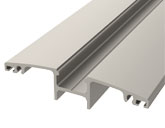 |
Upper Profile |
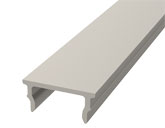 |
Screw Cape |
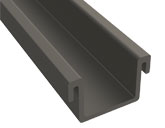 |
Thermal Brake |
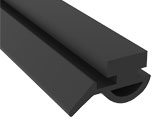 |
Rubber Gasket |
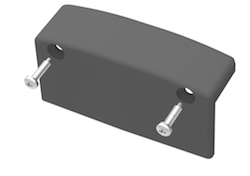 |
End Cape |
|
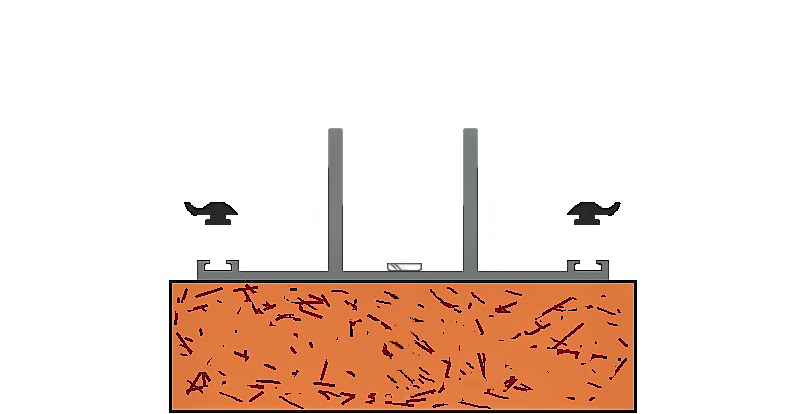
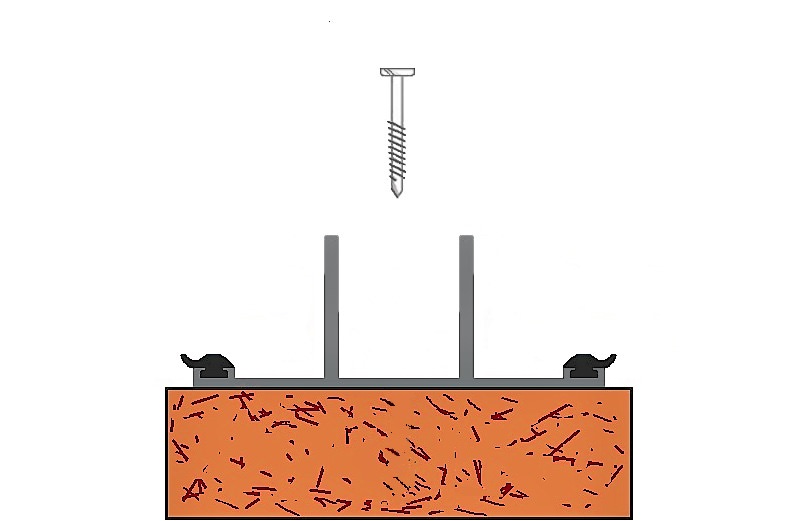
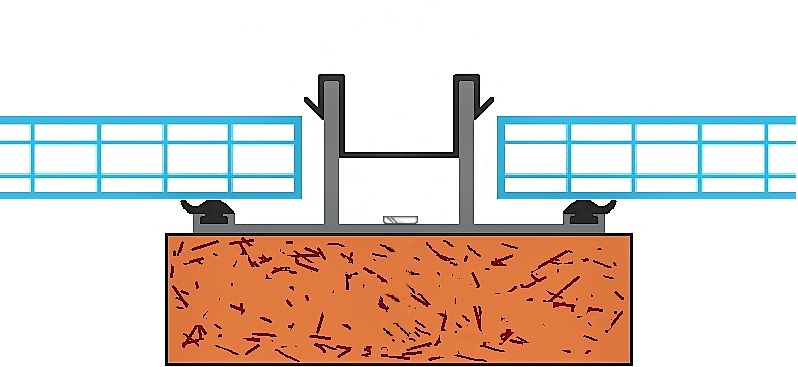
1. Start working from the left side of the roof structure making your way to the right. Place the Lower Aluminum Profile evenly along the length of the left side rafter (or across purlins). 2. Insert the gaskets into the left and right side of the Lower Aluminum Profile. Trim the Gaskets to sit flush to the end of the Lower Aluminum Profile. 3. Place the Lower Aluminum Profile on the far-left rafter (or purlin). Predrill every 2ft with a 1/4”drill bit through the middle of the lower Aluminum Profile and into the rafters (or purlins) 4. Fasten the Lower Aluminum Profile to the rafters (or purlins) using a minimum of 11/2 inch #10 recessed pan head self-tapping screws. ***DO NOT OVERTIGHTEN** 5. Insert Thermal Brake Profile into the Lower Aluminum Profile 6. Moving right, repeat steps 2 through 5. 7. Measure the distance between the two profiles inside walls to get the dimensions of your sheet. Keep in mind there is 1/8th inch per 4ft needed for the polycarbonate to expand and contract. 8. Leave the polyethylene film on the polycarbonate sheet while cutting to length. These cuts need to be performed at a high speed while moving slowly down the sheet. Use a circular (80+teeth) or fine-toothed jig saw. 9. Peel the film at least 5 inches from the sides to apply Aluminum Tape to the top flutes and Vent Tape to the bottom flutes of the sheets. 10. Cut the U Profile to the length of the Gallina Polycarbonate sheet and attach the ends. 11. With the UV side facing up, lay the Gallina Polycarbonate onto the Lower Aluminum profile, leaving 1/8th inch per 4ft to allow the polycarbonate to expand and contract. *** The following stages apply to the left most profile only (Do not tighten the right side down before both sides are holding polycarbonate) ***12. Insert the Gaskets into the left and right side of the Upper Aluminum Profile. Trim the Gaskets to sit flush to the end of the Aluminum Poli-Lok. 13. Join the Upper Aluminum Profile to the Lower Aluminum Profile and clasp together. 14. Predrill approximately every 2 feet using a 1/4 “ drill bit. Predrill through the Upper and Lower Aluminum profile into the rafters or purlins. (Offset these screws from those already in the Lower Aluminum Profile so they do not collide or rub.) 15. Use #10 21/2 inch Recessed Pan head self- tapping screws to attach the Upper and Lower Aluminum Profiles to the rafters or purlins. ***DO NOT OVERTIGHTEN** 16. Insert the Concealed Screw Covering to the top of the Aluminum Profile 17. Move to the right and repeat the above steps until you reach the end of the roof. 18.When completed, attach the Aluminum Poli-Lok Plug and cut to the desired length. 19. Once everything is screwed into place, flashing must be applied to the top of the structure where the polycarbonate meets the house. 20. To further secure your structure, you may choose to fasten through the Gallina polycarbonate sheet and into the rafters (or purlins). To do this, predrill with a 1/4” drill bit, fasten using a #10 2 inch wood screw with a bubble or a galvanized neoprene backed washer in between |
    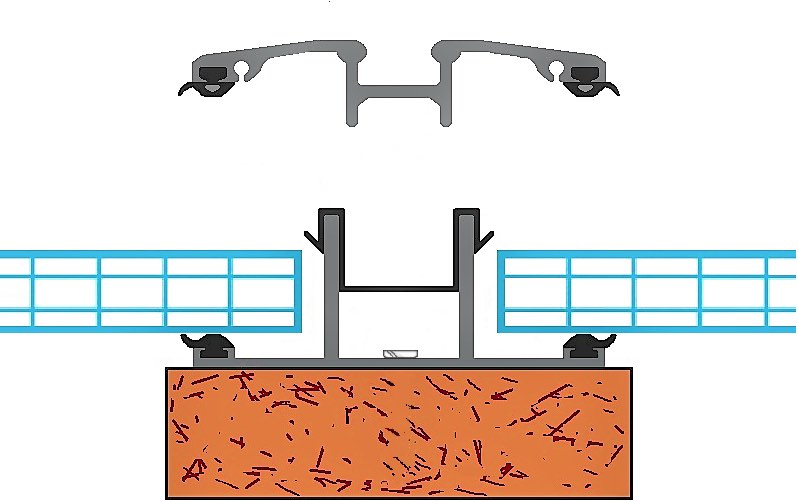 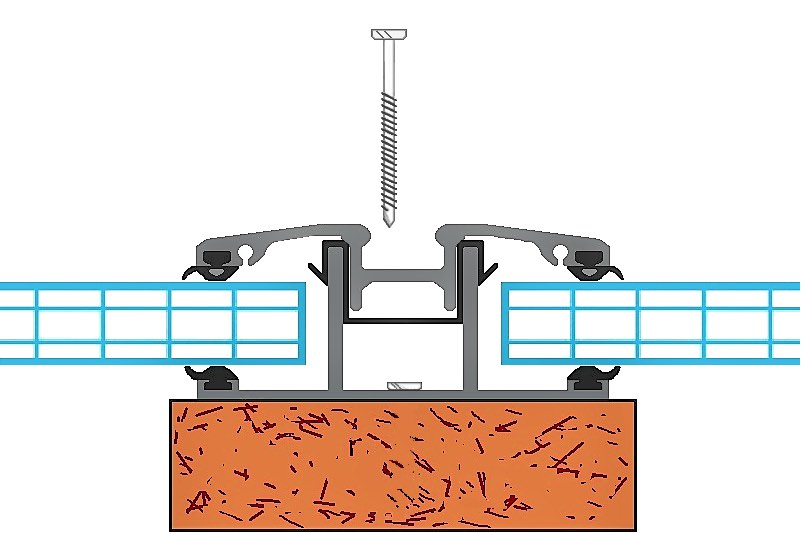 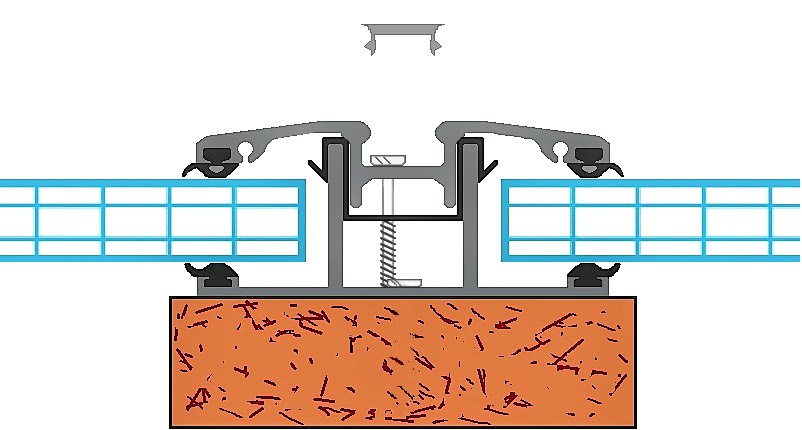 |
Business entities (Distributor, Fabricators, General Contractors) might benefit of a wholesale discount and / or special terms. To open an account, submit the form below. We'll get back to you after reviewing the information with details on your terms.